


Ingredients
-
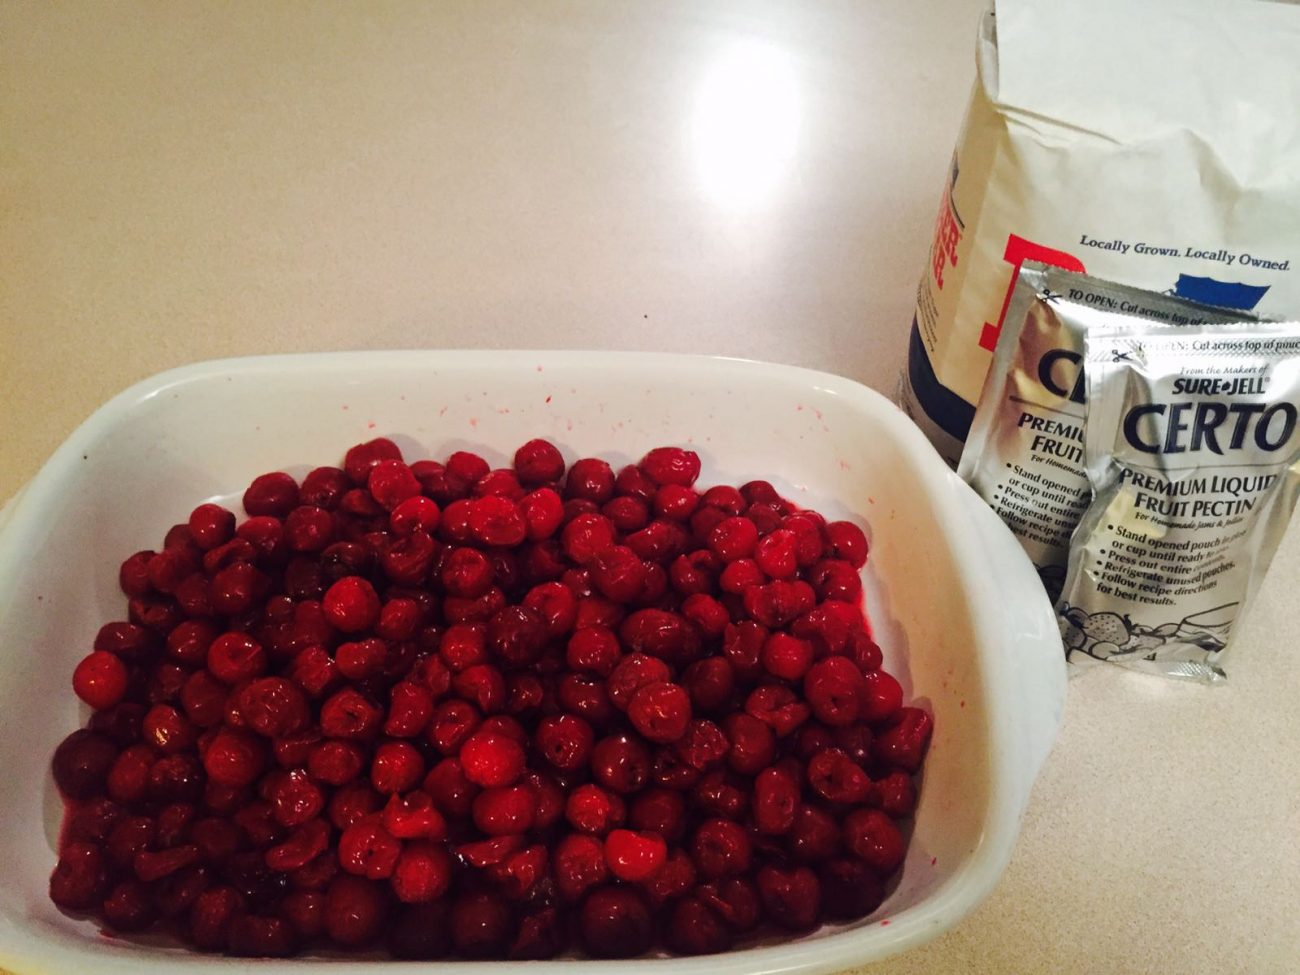
5 Lbs / 2.25 Kg CherriesFresh or Frozen
-
6 Cups White Sugar
-
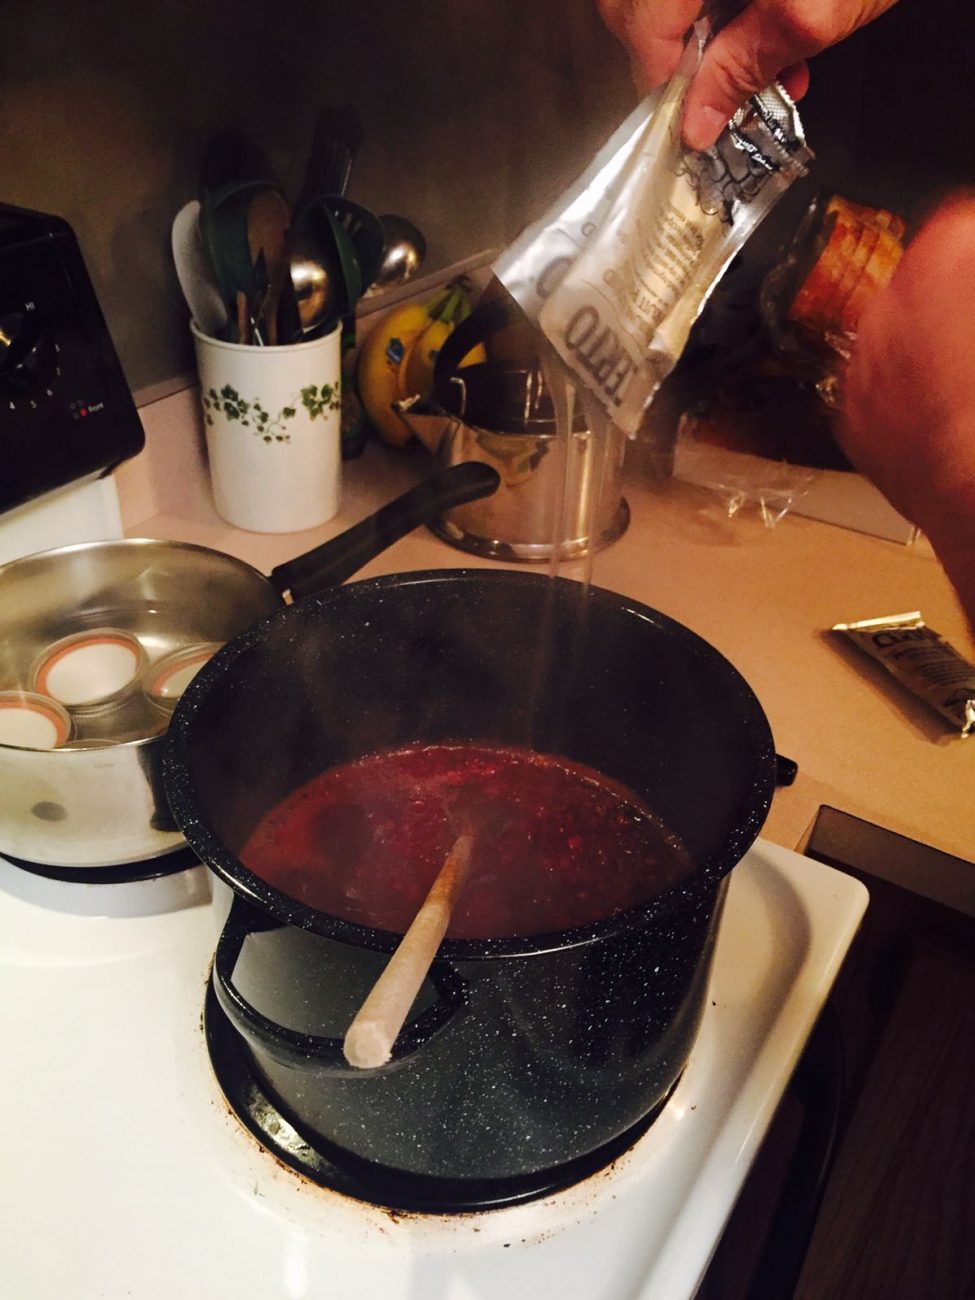
2 Packs Fruit PectinLiquid fruit pectin
-
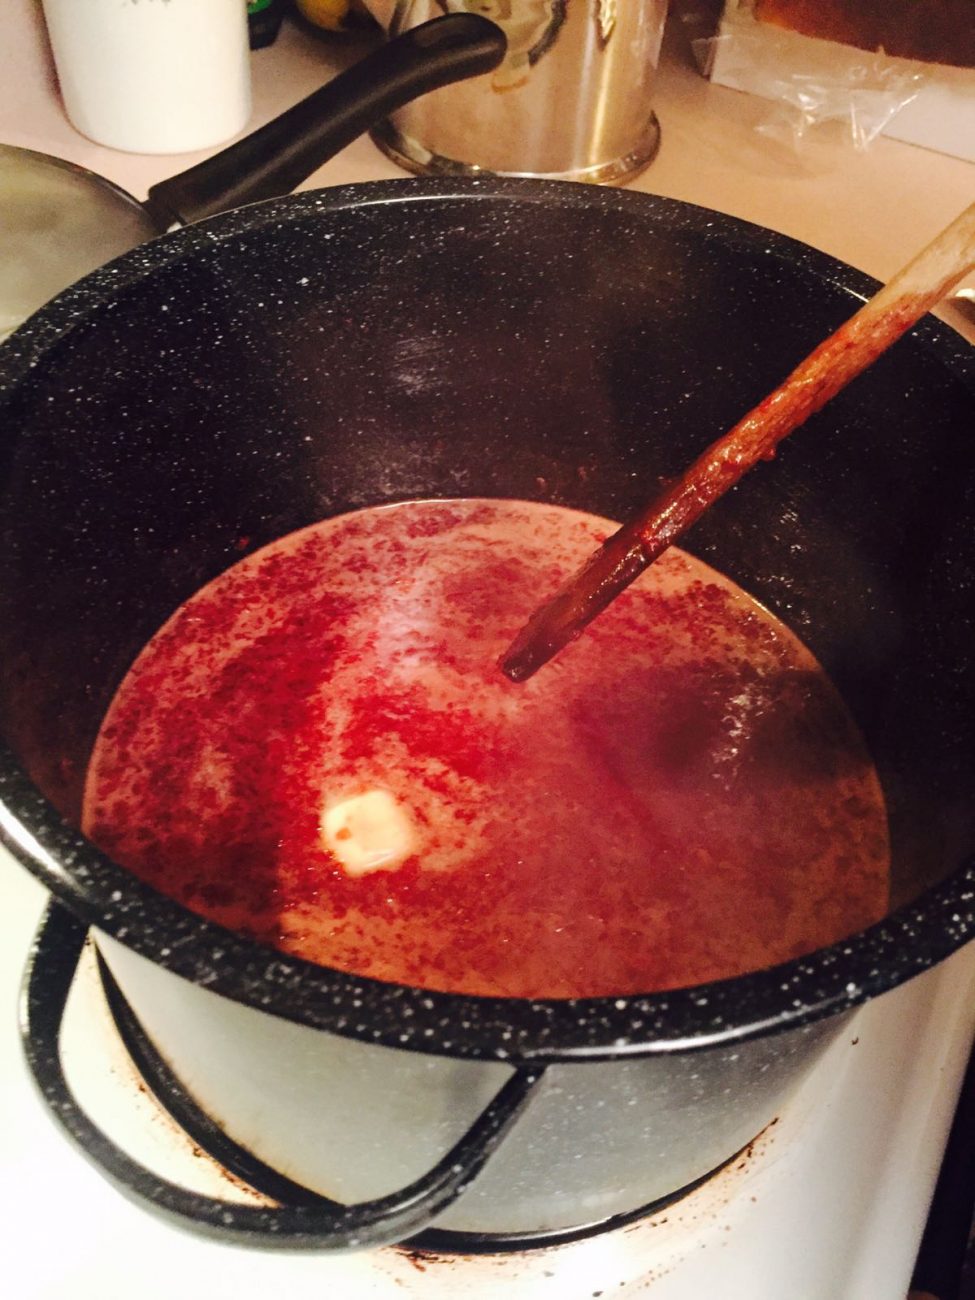
1 Tbsp ButterOptional: Unsalted butter
Directions

Or a How-To Tutorial for Jams in General
So yes, I will give in the end the recipe for the cherry jam but first, I would like to go over how to make jams in general and how to sterilize your jars. This is very important if you’re making a big batch and want to store it or give to friends and family. Although if you already know how to make jams then feel free to jump to to the end and read the recipe. For all others I highly recommend reading this before.
So How To Make A Jam? Short Version:
- Sterilize the jars
- Mash & cook Jam ingredients
- Pour into the jars
- Sterilize again
That’s it. pretty simple. but here I’m going to explain how to sterilize the jars because this will result if your jams lasts for two weeks or One Year outside the fridge…
In more words…
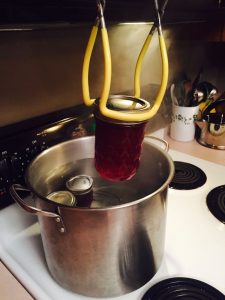
Sterilizing the Jars:
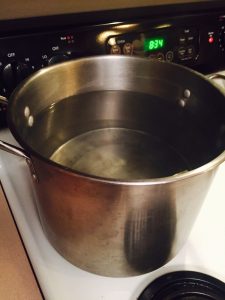
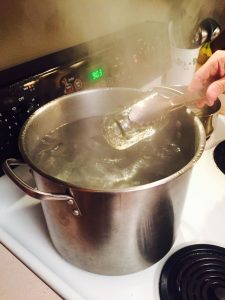
Heating water in a big pot.
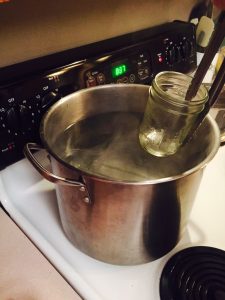
Adding Jars to The Pot. Let them sit in the boiling water till you use them. For convenience I usually prefer to use a different pot for the lids.
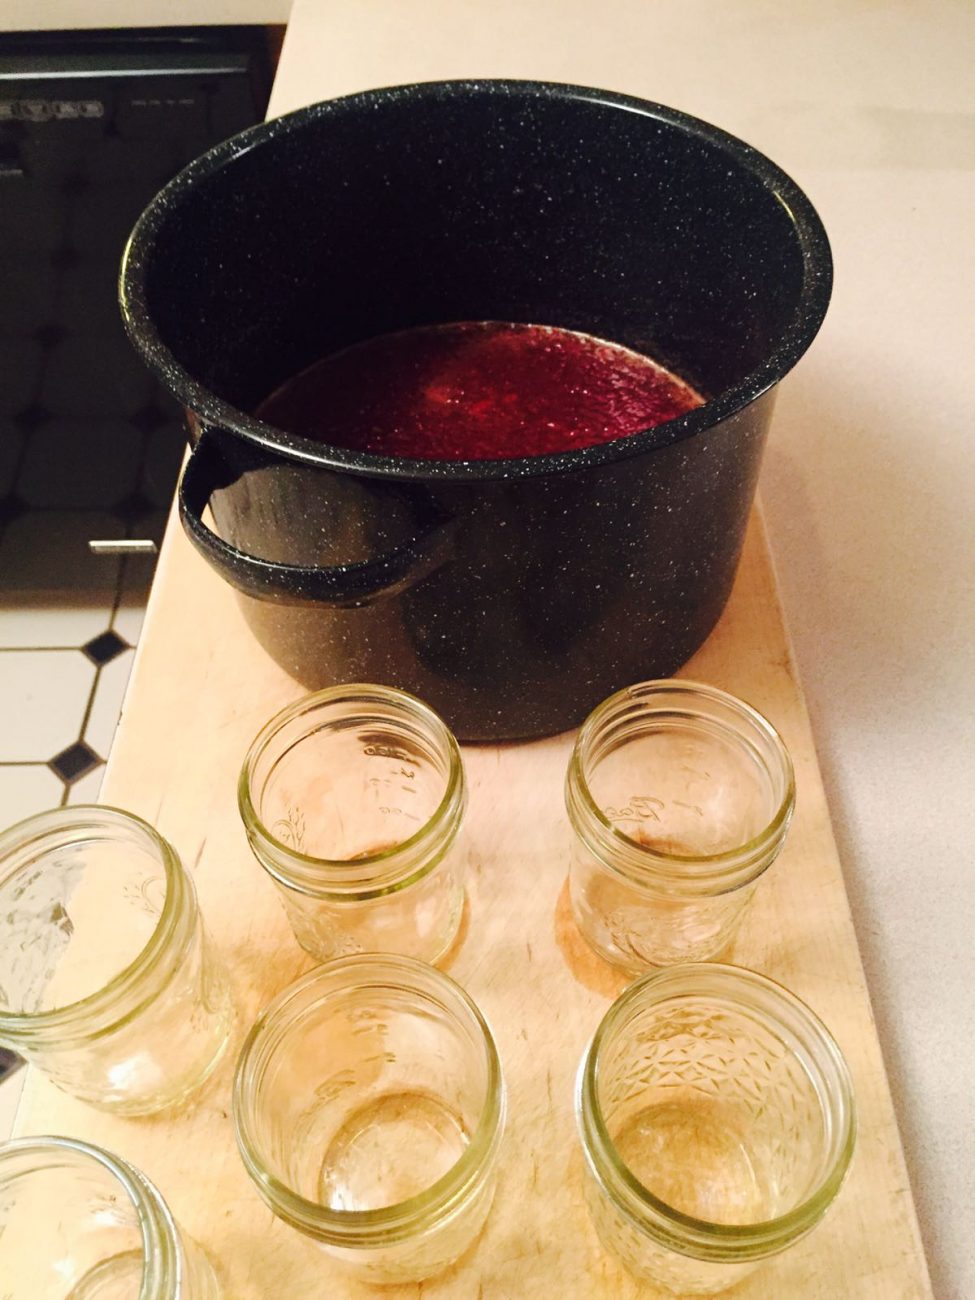
When the jam is ready to be poured pull the jars from the boiling water. Don’t forget the glass is very hot so do it with care!
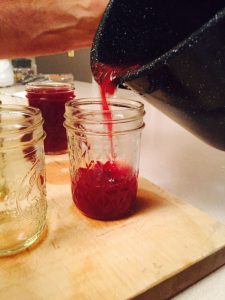
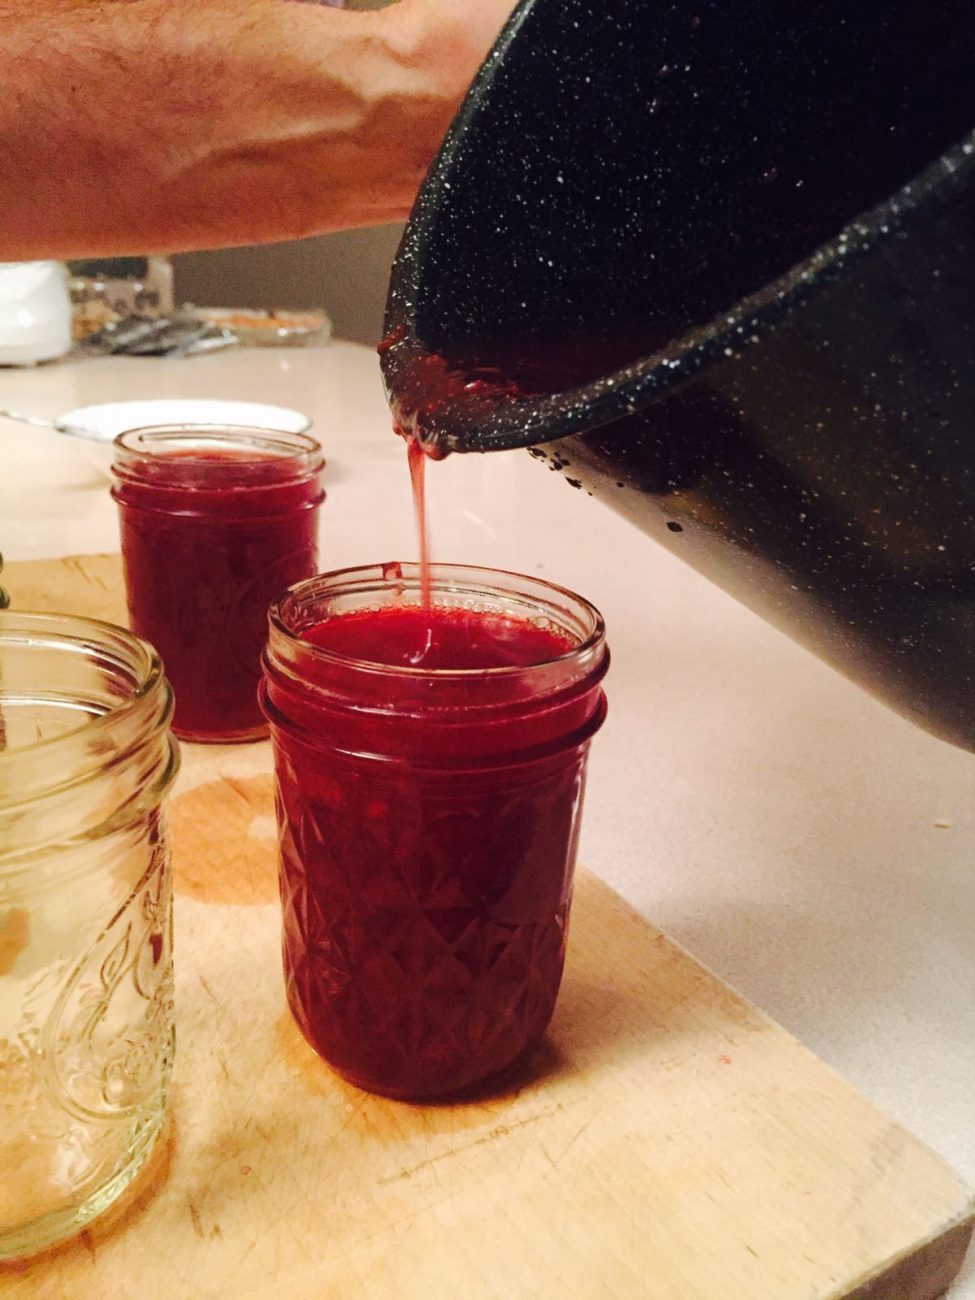
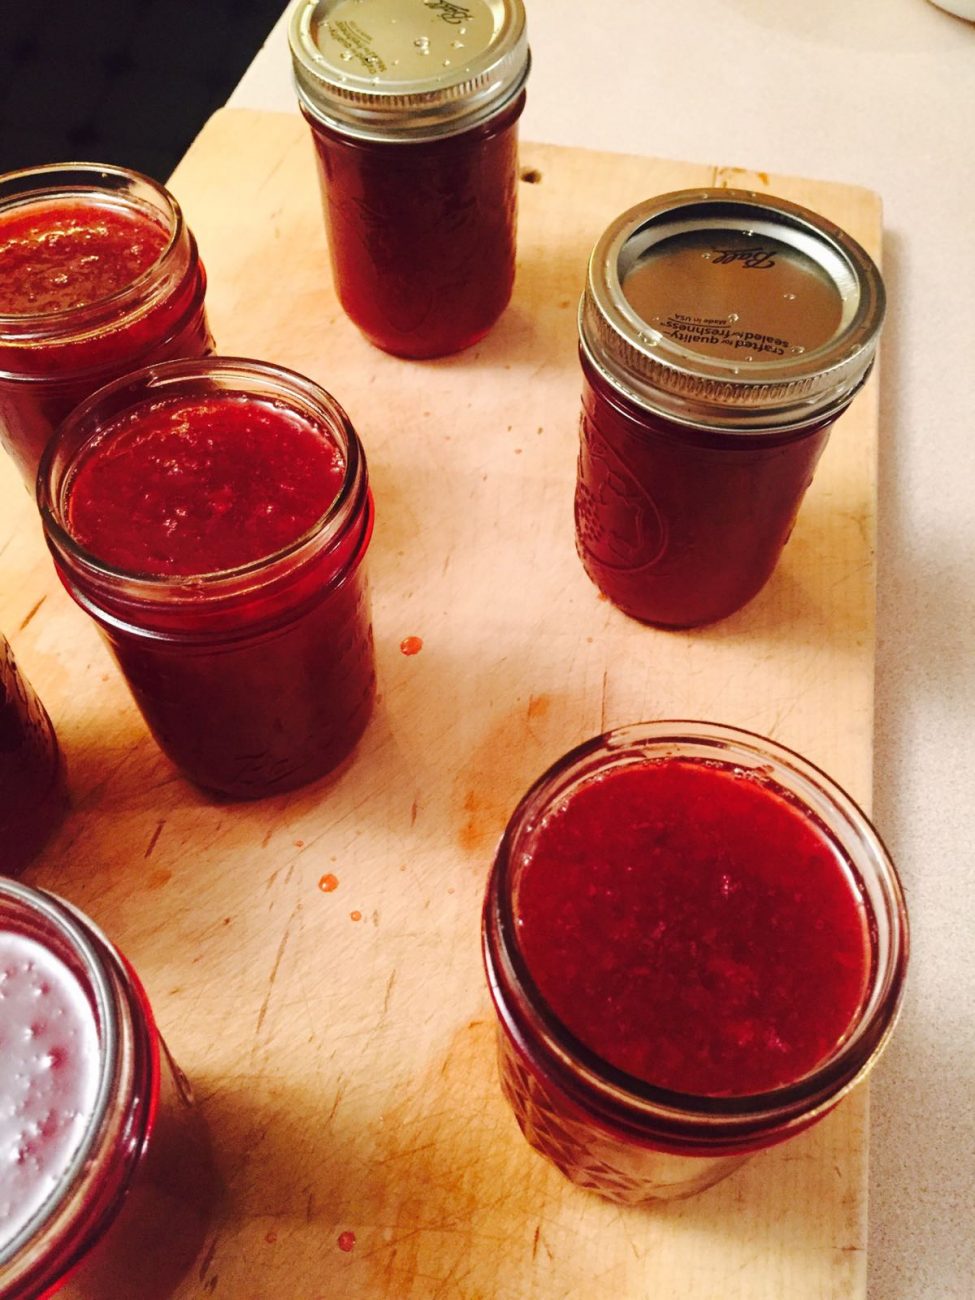
Pour the jam and fill the jars leaving about 1/2 inch free.
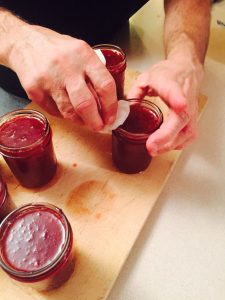
With a wet paper towel wipe the top of the jars. This step is very important if you intend to store the jam for several months. It will prevent bacteria from growing.

Closing the jars.
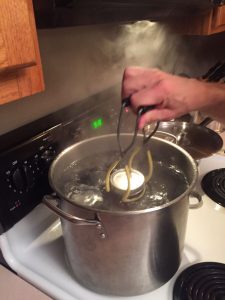
Sterilizing the Jars. Again. Yes, That’s also a very important step that will ensure your jam living a long and happy life!
After few minutes pull the jars from the water. Remember that they are very hot!!
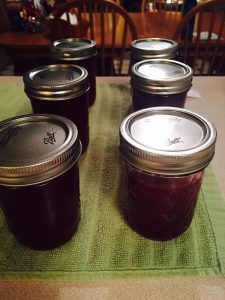
Let them rest of a kitchen towel till they get to room temperature. I (and most people I know) use Ball Mason Jars. If you did then wait for the “click”, then you know the jar is really sealed!
Steps
|
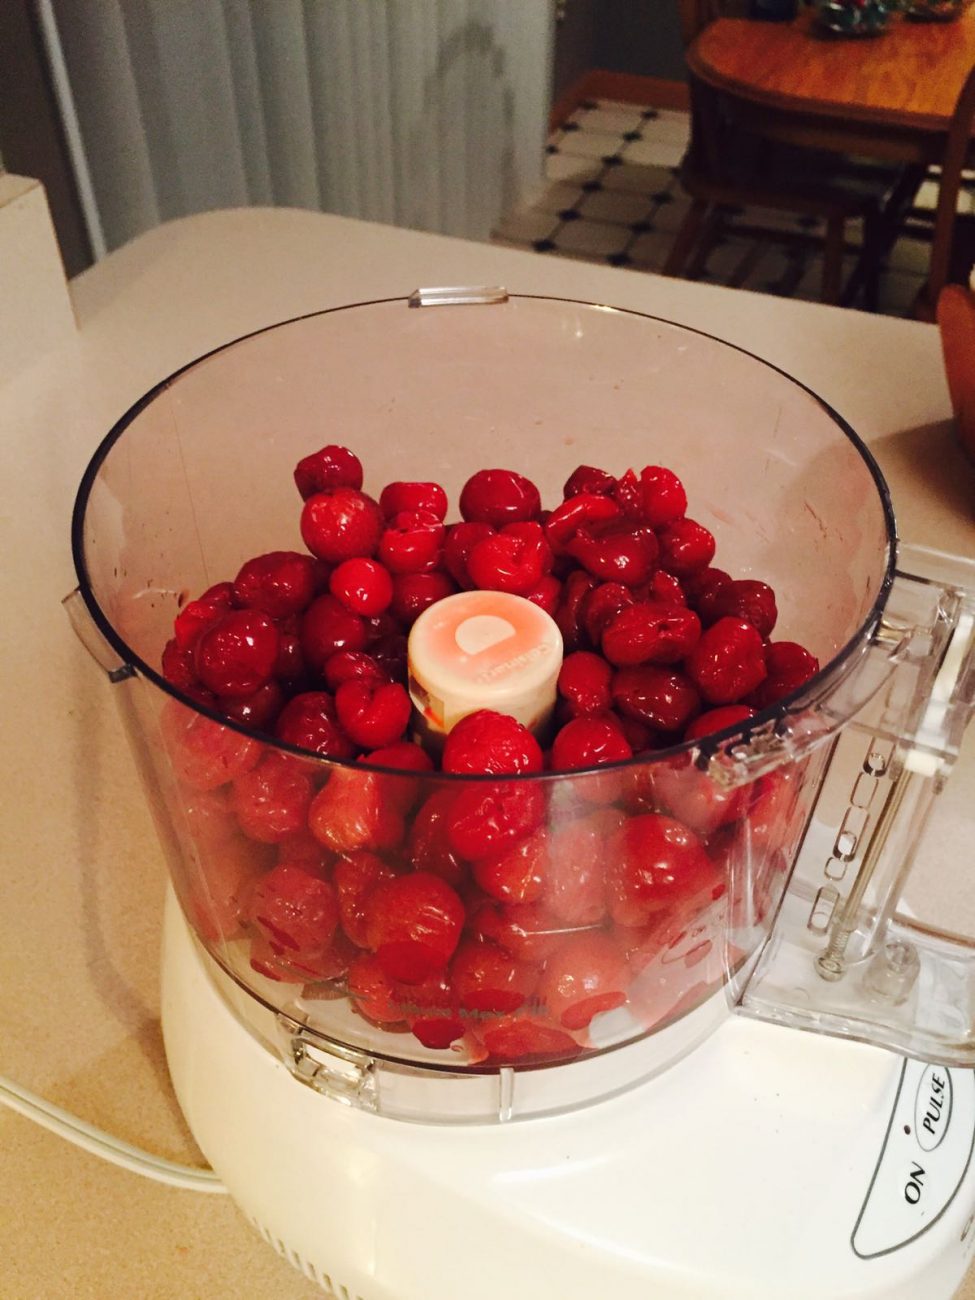
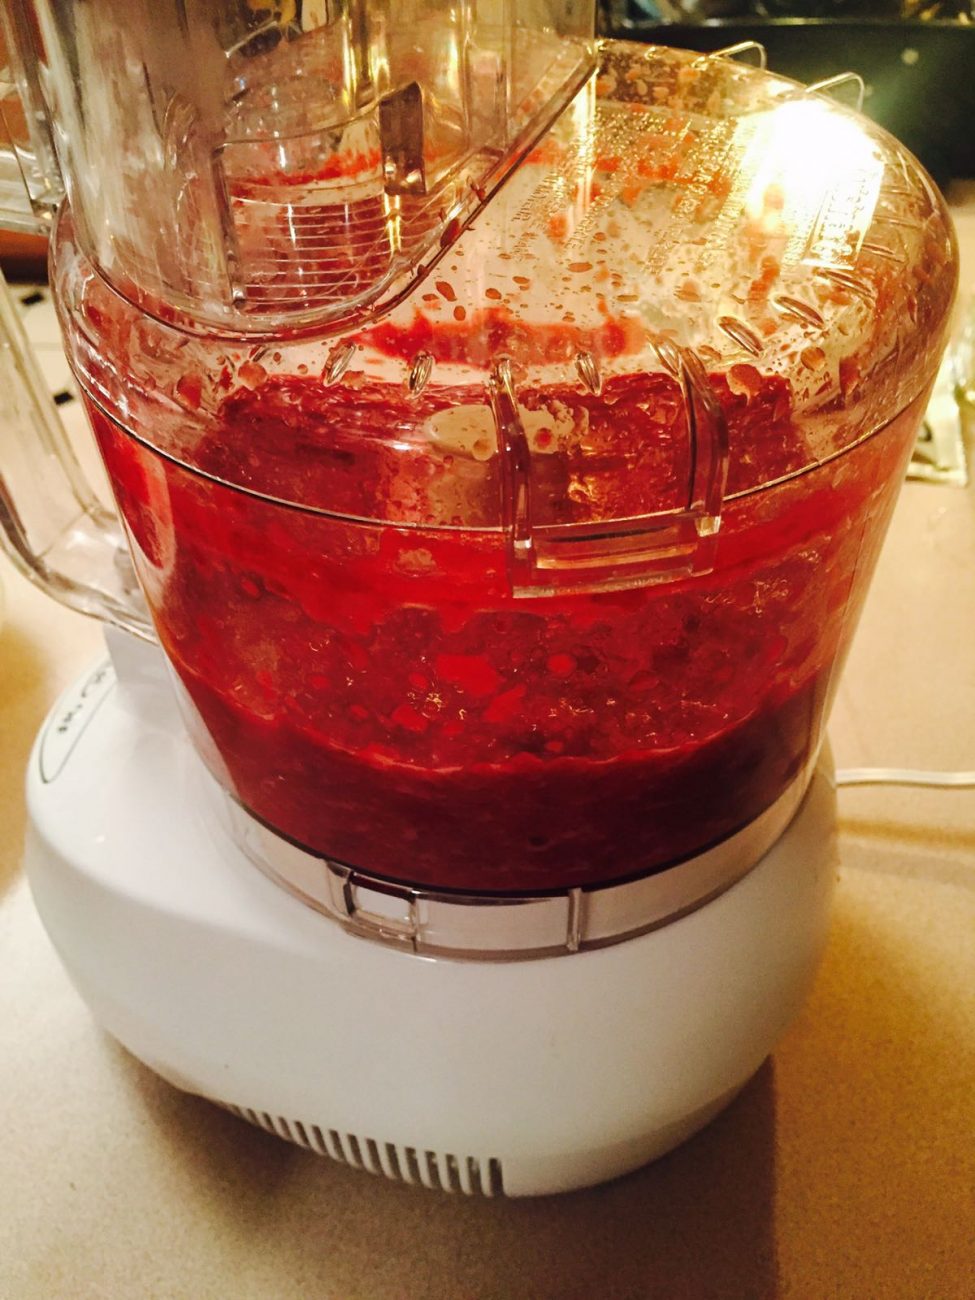
1
Done
5 Minutes
|
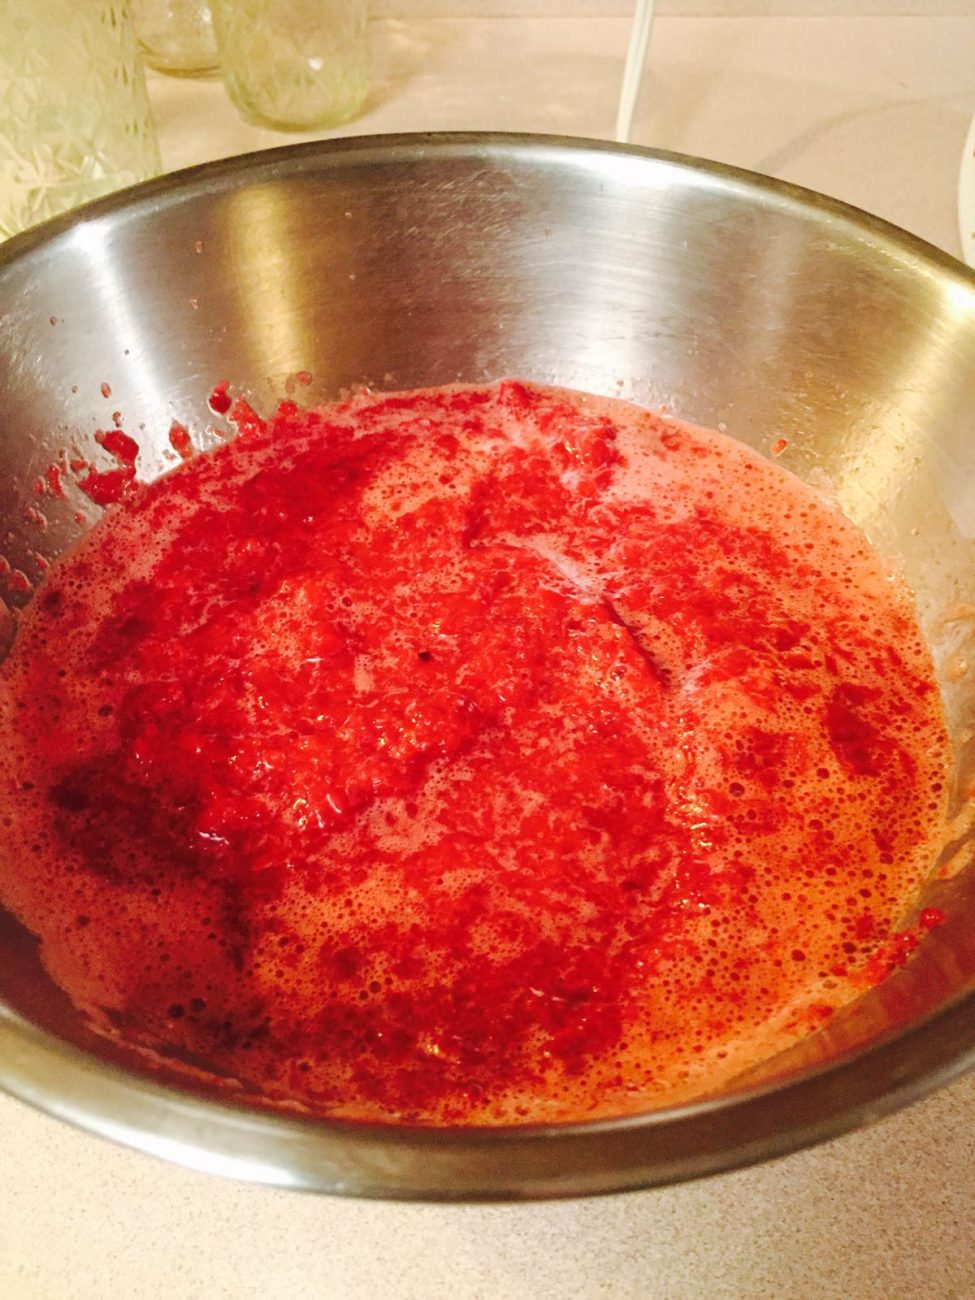
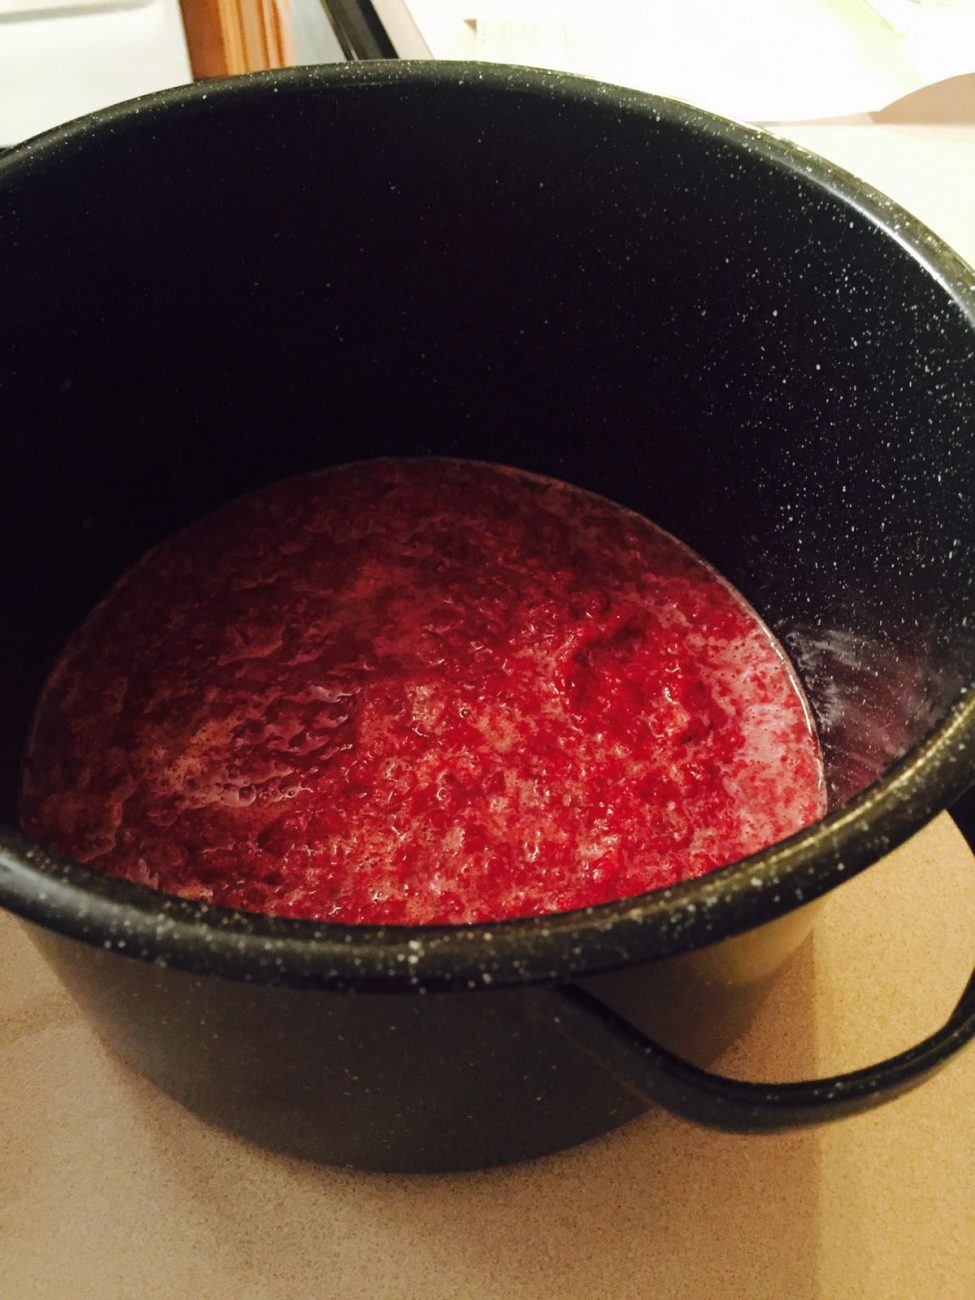
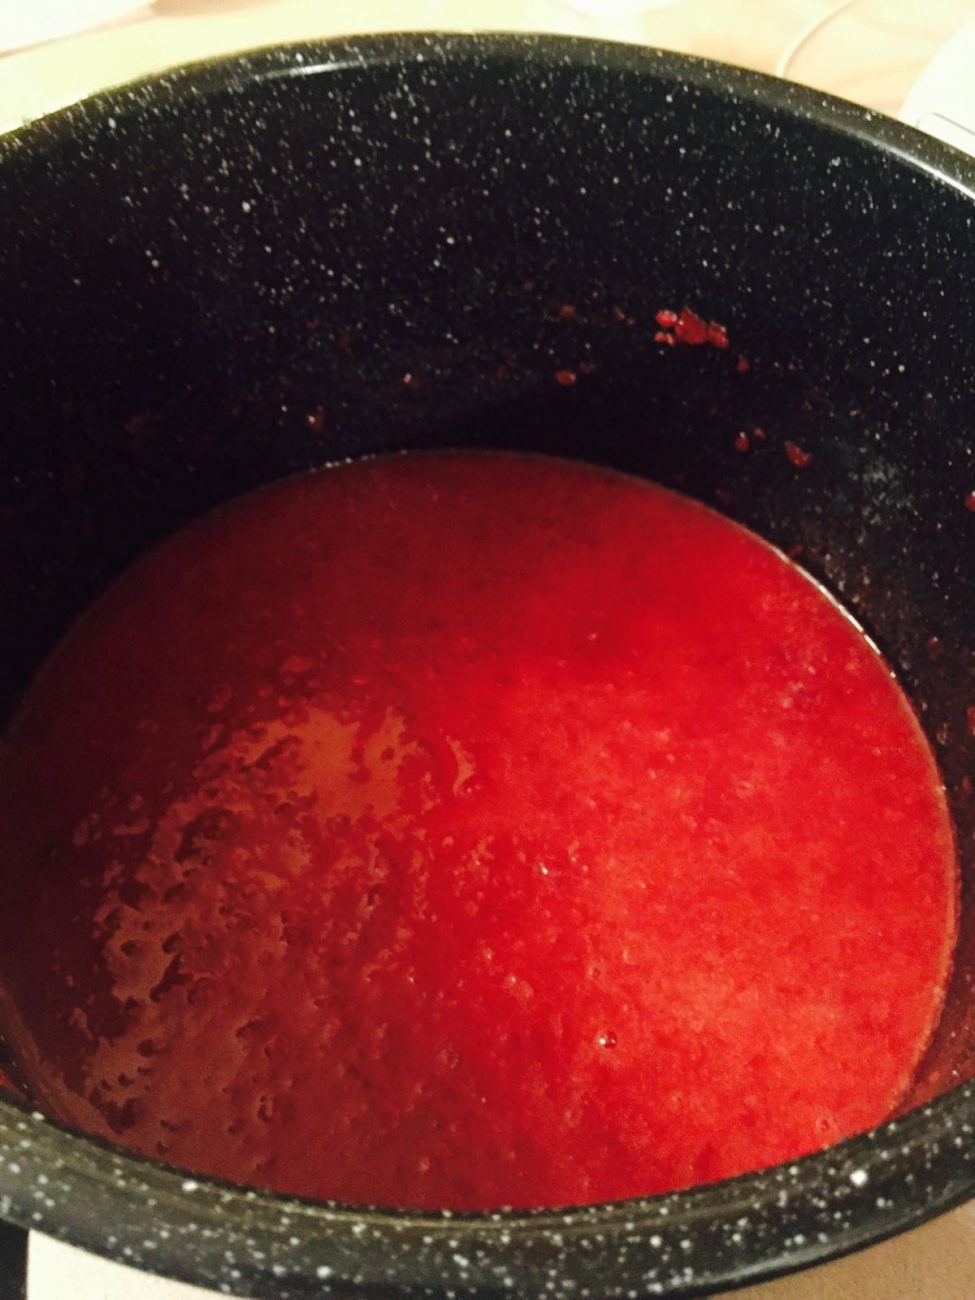
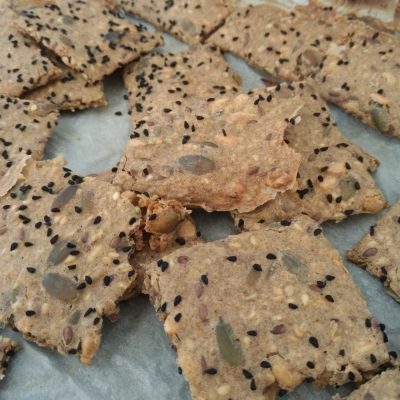
Mashing the CherriesIn a food processor, put your chosen fruit and mash it. Pour everything to a big pot. |
|
2
Done
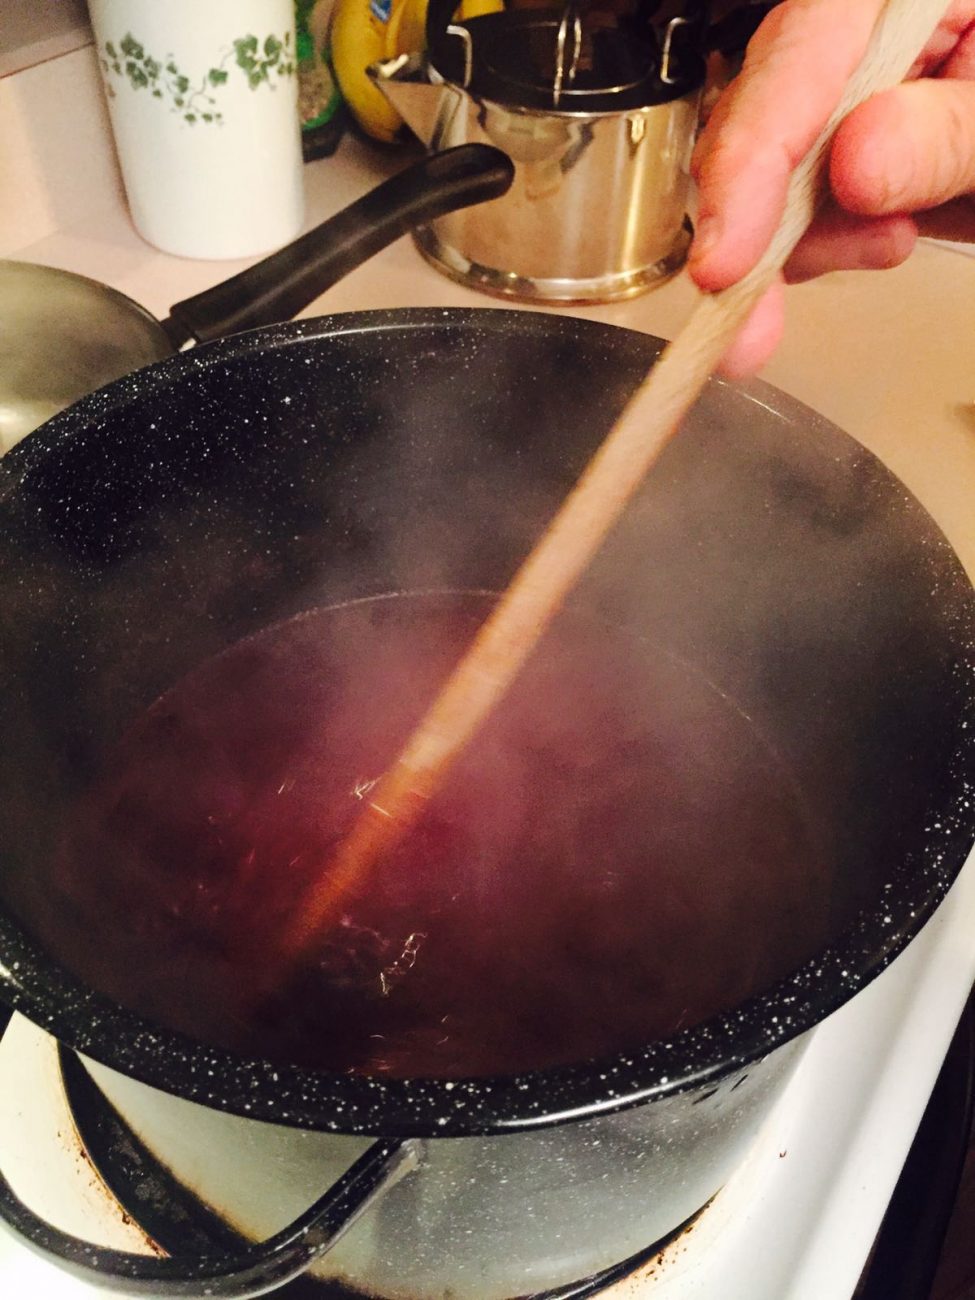
10-15 Minutes
|
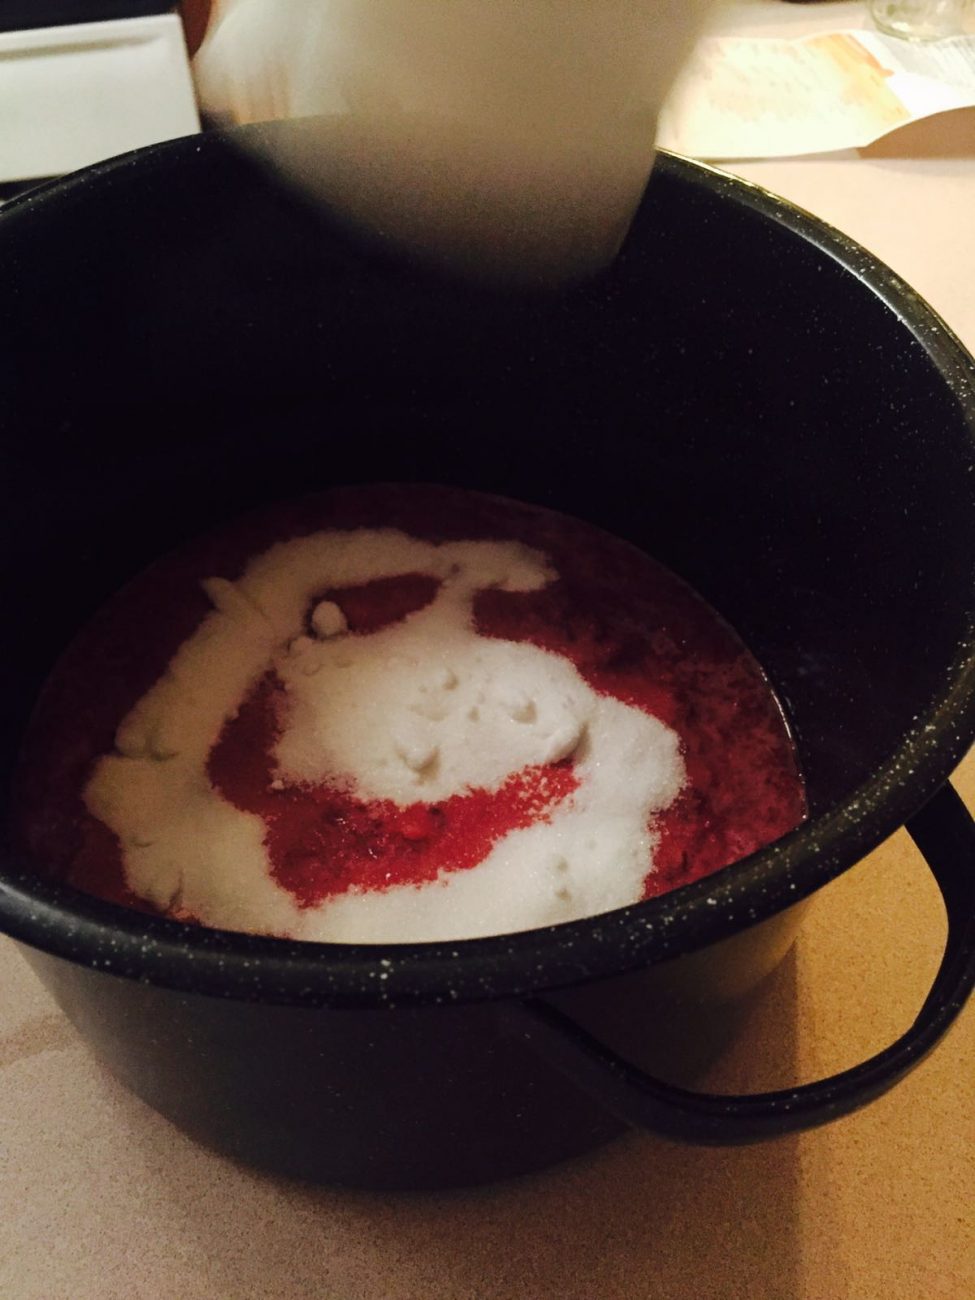
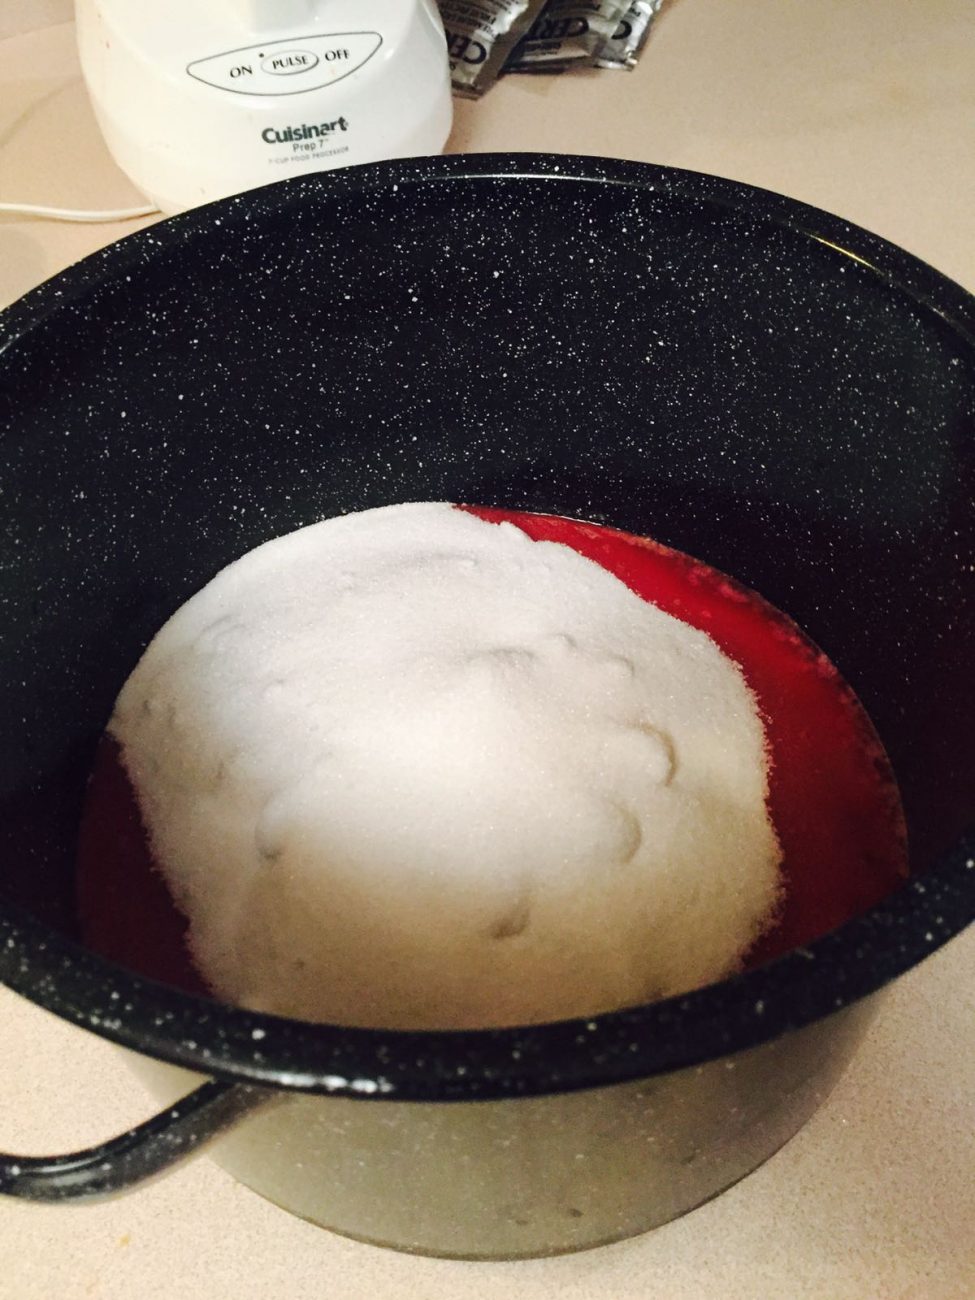
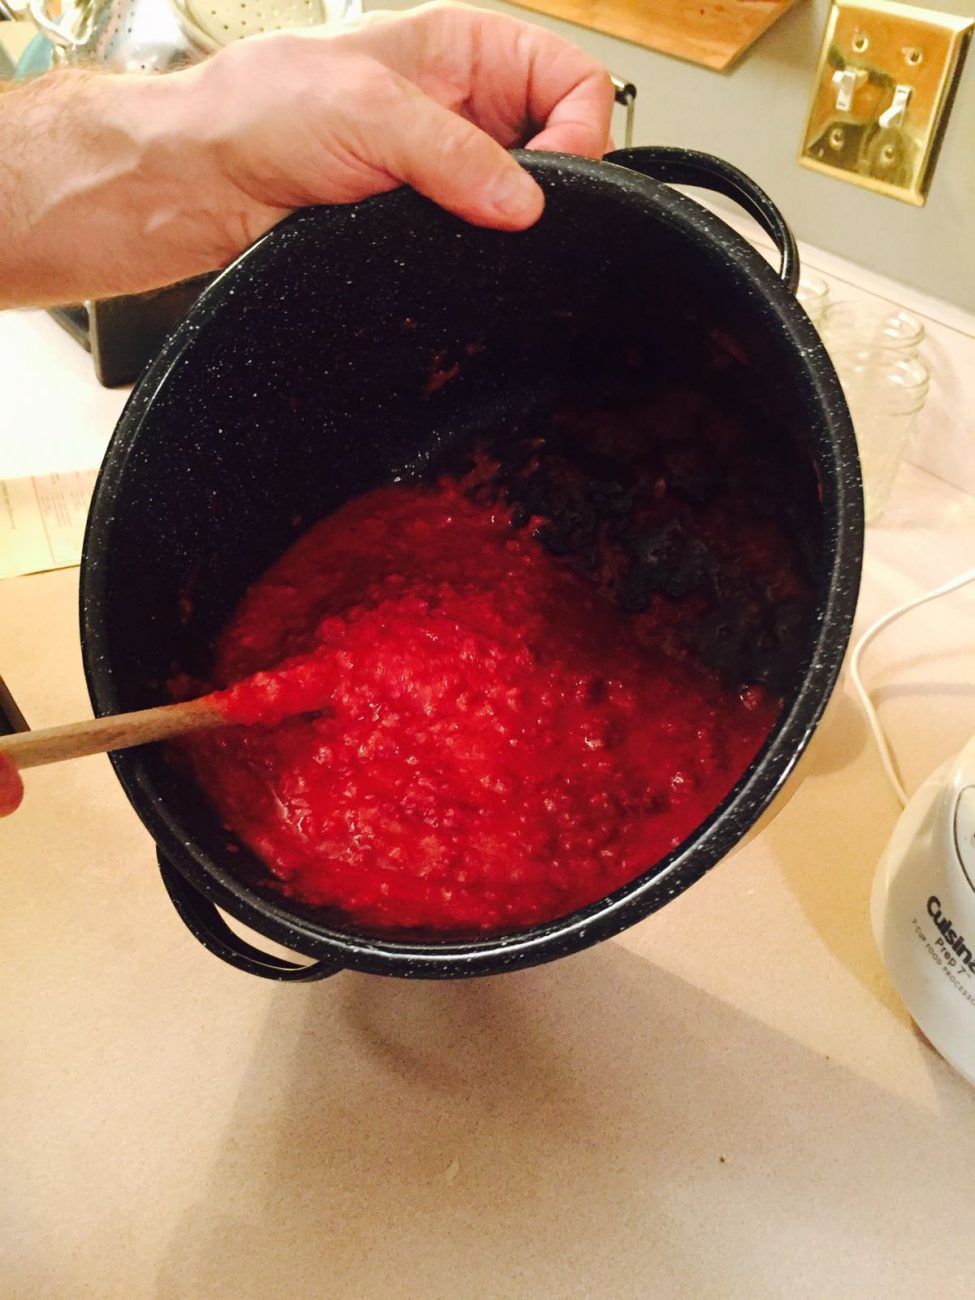
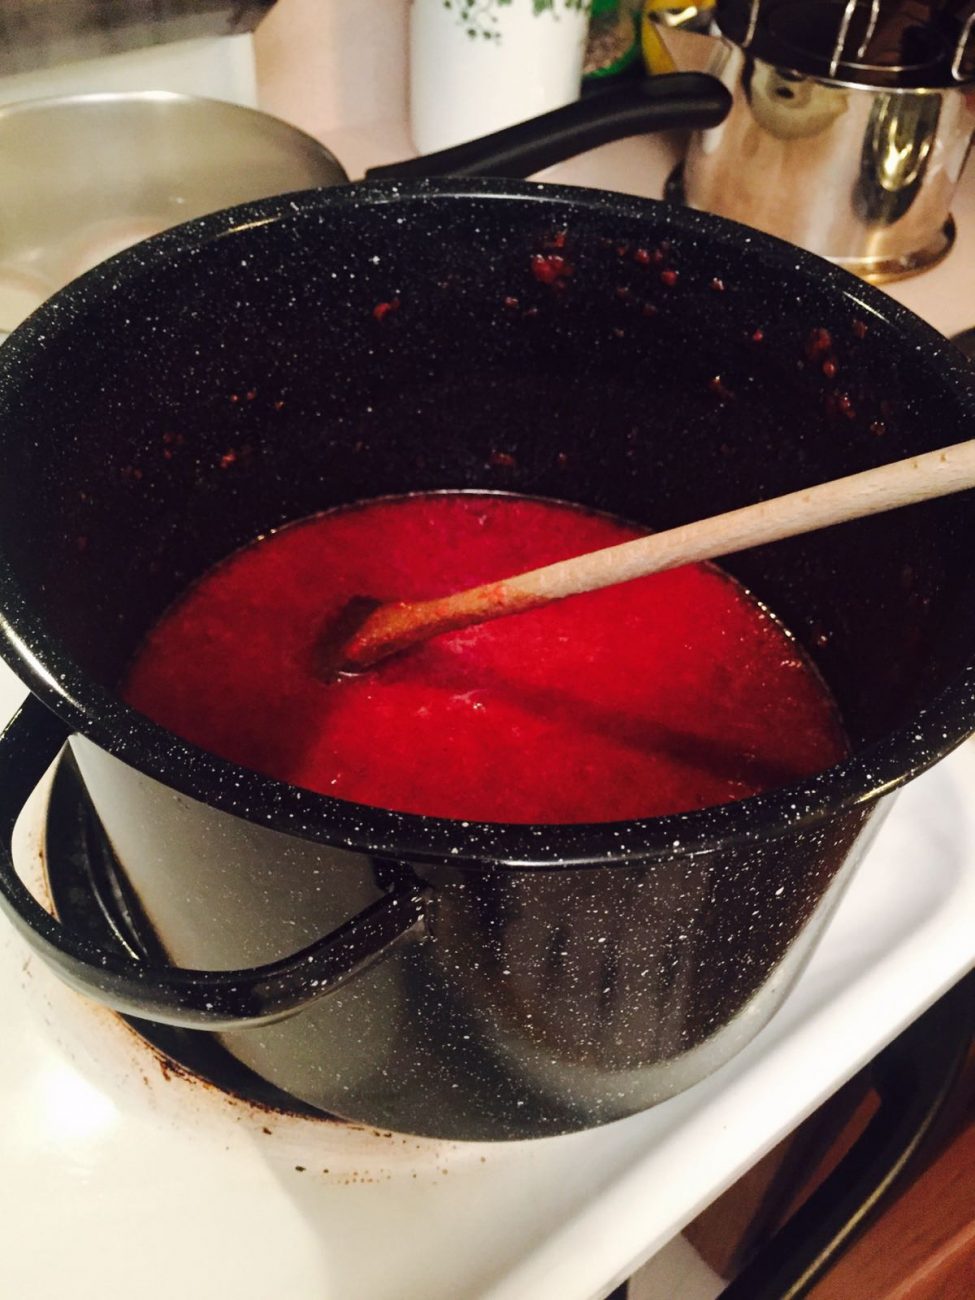
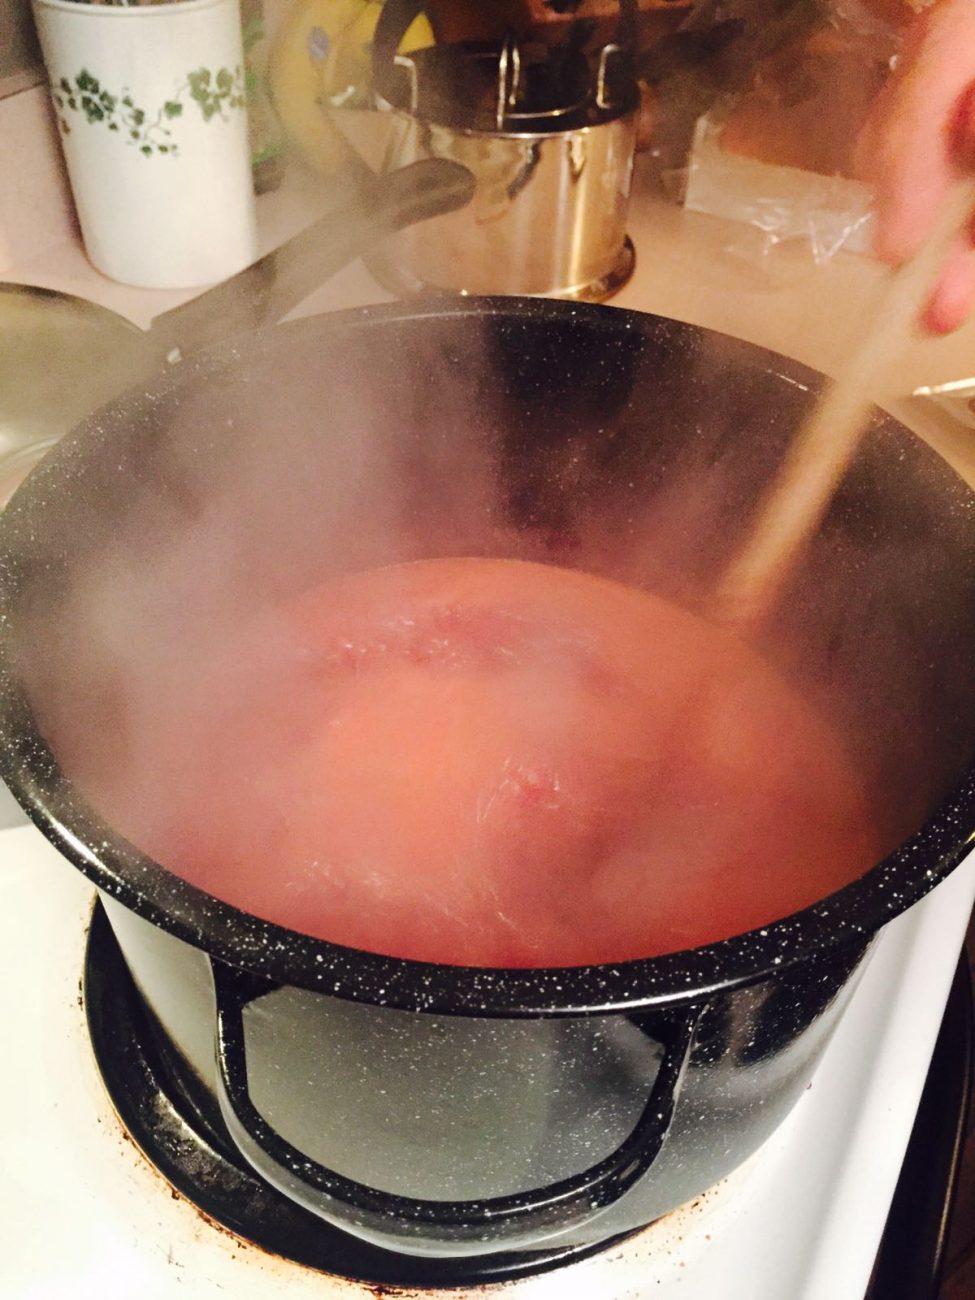
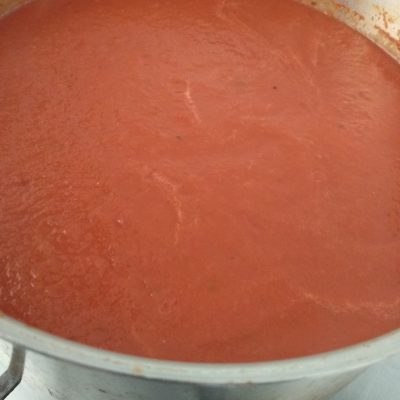
Cooking the Jam1. On Medium heat cook the mashed fruits. After 5 minutes add the sugar and mix well. |
|
3
Done
1 Minute
|
Filling The JarsActually this is pretty self-explanatory.... Just be careful not to burn yourself because the Jam, jars and pot are very very hot! |